After the Ottoman Interregnum, Mehmed I defeated his brothers in the struggle for power and reunited the Ottoman throne under a single ruler, restored weakened authority in Anatolia and Rumelia, suppressed revolts, and rebuilt the state to such an extent that he came to be remembered as its second founder.
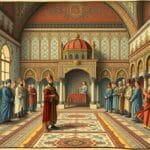
 https://osmanlitarihi.tr/wp-content/uploads/2026/05/osm-1595-1.jpg” alt=”Scene showing Mehmed I reestablishing authority in the Ottoman palace after the Ottoman Interregnum” class=”wp-image-1597″ />
Quick Summary
- Mehmed I reunited the throne by defeating his brothers.
- He pursued a careful and balanced policy toward the Anatolian beyliks.
- He strengthened Ottoman authority in Rumelia once again.
- The Sheikh Bedreddin movement threatened the central order.
- He left a more stable state to his son Murad II.
Contents
- The Ottoman Landscape after the Interregnum
- Mehmed I’s March to the Throne
- Restoring Authority in Anatolia
- A Policy of Balance and Loyalty in Rumelia
- Revolts after the Interregnum and the Bedreddin Movement
- Institutional Recovery and the Role of Second Founder
- Conclusion
The Ottoman Landscape after the Interregnum
The Battle of Ankara in 1402 caused one of the most severe ruptures in Ottoman history. Bayezid I’s defeat by Timur was not merely a military loss. It also meant the unraveling of the central order. For a detailed view of this process, the article Bayezid I and the Battle of Ankara offers important background.
The struggle for the throne that began among Bayezid’s sons Süleyman, İsa, Musa, and Mehmed shook the state’s two main regions. In Anatolia, the former beyliks regained strength. In Rumelia, frontier lords, raiders, and local powers sought new balances. According to Halil İnalcık, this period revealed how fragile Ottoman centralization could be.
Why was the Ottoman Interregnum not merely a struggle for the throne?
The Ottoman Interregnum produced consequences broader than a conventional succession struggle among brothers. The Ottomans did not only lose dynastic unity. The tax system, military loyalty, and provincial administration were also shaken. For this reason, Mehmed I’s achievement was not limited to seizing the throne.
Timur also rolled back Ottoman expansion by restoring the Anatolian beyliks to their former lands. The Germiyanids, Karamanids, Aydınids, and Menteşeids regained room for maneuver. If the Ottomans could not recover quickly, they might have been reduced to the level of a frontier principality. Mehmed I recognized this danger early.
Mehmed I’s true achievement was making the legacy of a shattered state function again.
Mehmed I’s March to the Throne
After the Battle of Ankara, Mehmed I managed to hold on around Amasya. This region gave him both a secure base and an opportunity to expand into inner Anatolia. His administrative experience in Amasya formed the foundation of the policy he would later pursue. His patience in particular set him apart from his rivals.
He first struggled against İsa Çelebi. The contest for control around Bursa was fought over the symbolic center of the Ottoman inheritance. Mehmed used diplomacy as much as military force. At this stage, he established temporary compromises with local beys.
What was Mehmed I’s greatest advantage during the Ottoman Interregnum?
Mehmed I’s greatest advantage was his balanced approach. His rivals often pursued quick victories. By contrast, Mehmed gradually expanded his power. He did not take major risks before consolidating his support networks in Anatolia.
Süleyman Çelebi appeared strong in Rumelia. Yet his relations with Byzantium and the Balkan powers caused unease in some circles. Musa Çelebi, meanwhile, pursued a harsh policy in Rumelia. As a result, Mehmed I was able to present himself as the representative of order.
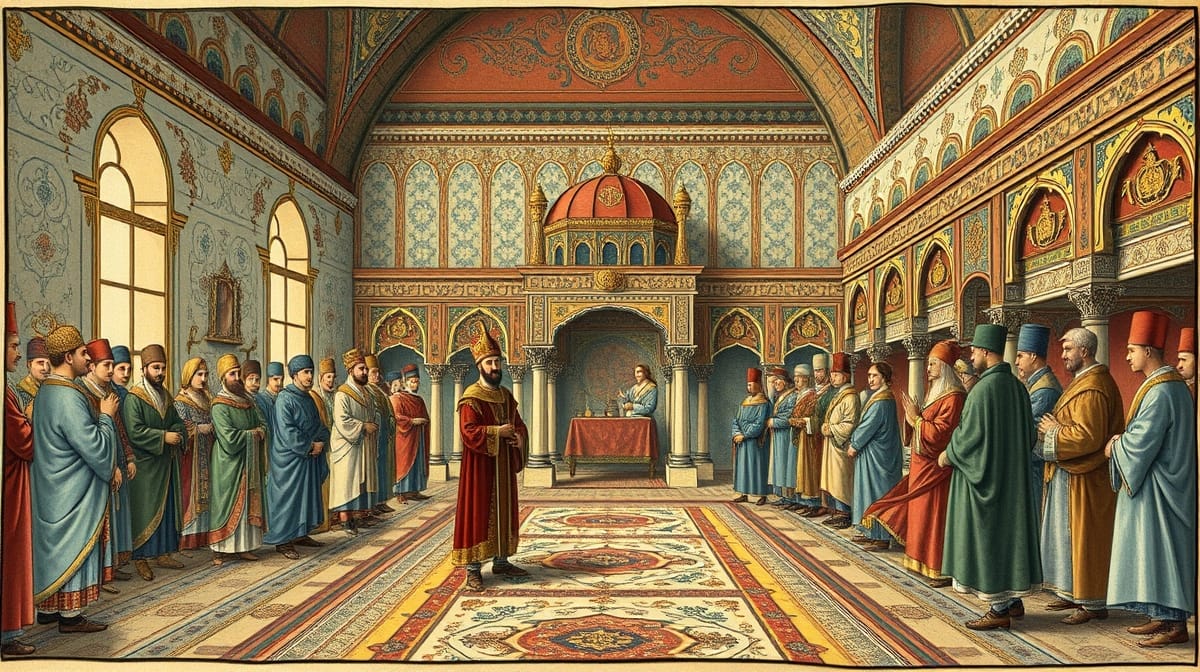
With Musa Çelebi’s defeat in 1413, the struggle came to an end. Mehmed became the sole ruler on the Ottoman throne. This date is regarded as the political marker of the end of the Ottoman Interregnum. Yet a longer effort was needed to reunify and restore the state.
[IMAGE: 2]
Restoring Authority in Anatolia
Mehmed I’s priority was Anatolia. The heaviest effects of the Battle of Ankara were felt there. The former beyliks had regained strength. In addition, some cities were hesitant about their loyalty to the Ottoman center.
For this reason, Mehmed I did not pursue a policy based solely on the sword. When necessary, he used kinship, agreements, and temporary concessions. İsmail Hakkı Uzunçarşılı draws attention to his measured approach in Anatolian policy. This moderation allowed the state to breathe again.
How were relations with the beyliks balanced?
The Karamanids were the most serious Anatolian rival for the Ottomans during this period. Mehmed I could not completely eliminate Karamanid pressure. However, he limited their expansion. In doing so, he bought time for the Ottomans’ internal recovery.
Western Anatolian powers such as the Aydınids, Sarukhanids, and Menteşeids were also watched carefully. The Ottomans did not immediately eliminate all these beyliks. On the other hand, they increased their influence in strategic regions. This policy laid the groundwork for the periods of Murad II and Mehmed the Conqueror.
To understand the recovery in Anatolia, it is necessary to connect it with the subject of the first Ottoman sultan to establish Anatolian Turkish political unity. The steps taken by Mehmed I formed part of a broader political objective. Lasting unity could not be established before the state regained its strength.
A Policy of Balance and Loyalty in Rumelia
Throughout the Ottoman Interregnum, Rumelia was both a refuge and a zone of risk for the Ottomans. Frontier lords and raiders had great influence there. Local elements in the Balkans closely watched the dynastic struggle. For this reason, Mehmed I did not pursue a swift and harsh purge in Rumelia.
He first rebuilt networks of loyalty. He drew to his side some groups that had been uneasy during Musa Çelebi’s period. He also closely followed Byzantine, Serbian, and Wallachian politics. In this way, he preserved the Ottoman presence in Rumelia.
Why was Rumelia decisive in the state’s recovery?
Rumelia was one of the major sources of Ottoman military power. Raiders, frontier lords, and timar holders were concentrated in this region. Therefore, if Rumelia had been lost, the Ottoman recovery would have been far more difficult. Mehmed I was aware of this.
In addition, Rumelia provided the Ottomans with political legitimacy. The state was not merely a power among the Anatolian beyliks. It also claimed lasting rule in the Balkans. Preserving this claim increased the prestige of the dynasty.
To understand the logic of early Ottoman expansion, the article Ottoman expansion during the reign of Orhan Gazi is also important. The process that began with the crossing into Rumelia was defended anew in the reign of Mehmed I. Thus, the state’s presence on two continents continued.
Revolts after the Interregnum and the Bedreddin Movement
Although the Ottoman Interregnum had ended, social unrest did not disappear immediately. Wars, tax pressure, and local power struggles had worn down the population. This environment prepared the ground for religious and social movements. The Sheikh Bedreddin affair should be evaluated in this context.
Sheikh Bedreddin was an important figure who had served as kazasker during the reign of Musa Çelebi. Later, different social groups gathered around him. The movements of Börklüce Mustafa and Torlak Kemal also came to the fore in this period. Mehmed I regarded these movements as threats to central authority.
How did the legacy of the Interregnum feed the revolts?
The Ottoman Interregnum affected not only the palace circles but also the population in the provinces. In regions that repeatedly changed hands, the sense of security weakened. Some groups turned toward promises of a more just order. For this reason, the Bedreddin movement was not merely a religious matter.
Mehmed I protected the central order by suppressing the revolts. Yet this process also revealed the scale of social tension. The entry on Sheikh Bedreddin in the TDV Encyclopedia of Islam notes that the movement is open to different interpretations. For this reason, the event is still debated among historians.
From the sultan’s perspective, however, the matter was clear. The newly recovering state could not endure a second fragmentation. Therefore, the revolts were met with a harsh response. Central authority became visible again only in this way.
[IMAGE: 3]
Institutional Recovery and the Role of Second Founder
Mehmed I is often called the “second founder.” This title is not merely exaggerated praise. After 1402, the Ottoman state faced a real danger of disintegration. Mehmed transformed this disorder back into a centralized structure.
First, he strengthened dynastic authority. Once his rivals to the throne had disappeared, the office of the sultan became clearly defined again. He then restored the administrative order in the provinces. The timar system and military obligations were made functional once more.
How did state administration begin functioning again?
Continuity was very important in Ottoman administration. The imperial council, judges, sanjak beys, and timar holders were the basic components of the order. Mehmed I tried to bring these elements back into harmony. To understand the Ottoman governing tradition, the subject of the Imperial Council and Ottoman state administration offers a useful comparison.
Mehmed I also restored discipline to military power. Loyalties that had fragmented after the Battle of Ankara were rebuilt through new campaigns. The content titled the foundation and components of the Ottoman army is complementary for understanding the early structure of the Ottoman military. Military order was the most important foundation of political authority.
Foreign relations during this period were also handled cautiously. The Ottomans did not enter into an open war of attrition with Byzantium. Balanced contacts with Balkan powers were maintained. Thus, while the state recovered internally, it avoided opening a major external front.
What legacy did Mehmed I leave to Murad II?
When Mehmed I died in 1421, he did not leave behind a completely trouble-free state. Yet the danger of disintegration had largely been overcome. His son Murad II inherited a stronger center. This legacy prepared the road leading to the processes of Varna and Kosovo.
To understand the reign of Murad II, the article the reign of Murad II and the Battle of Varna is a natural continuation. The balance established by Mehmed I was tested in Murad II’s struggles. Thanks to this balance in particular, the Ottoman presence in the Balkans could be preserved.
Caroline Finkel describes this phase of Ottoman history as a test of the state’s survival. Indeed, Mehmed I’s reign stands out more for a politics of repair than for spectacular conquests. Yet sometimes saving a state from disintegration is harder than expanding it.
Conclusion
In conclusion, after the Ottoman Interregnum, Mehmed I ended the dynastic struggle, restored Ottoman authority, pursued a balanced policy in Anatolia and Rumelia, suppressed revolts, and placed the state on a firm foundation that could be carried into the reign of Murad II.
Sources
- Halil İnalcık, Devlet-i Aliyye.
- İsmail Hakkı Uzunçarşılı, Osmanlı Tarihi.
- Caroline Finkel, Osman’s Dream.
- TDV Encyclopedia of Islam, entry on Mehmed I.
- TDV Encyclopedia of Islam, entry on Sheikh Bedreddin.